Wood projects completed since retiring
|
|
click photo to enlarge |
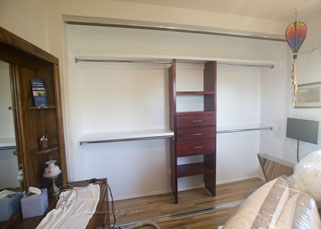
I retired in December of 2016. One of the first things I wanted to tackle
around the house was our closets. I hated the closet maid wire stuff that was
here. First off it was never installed properly and would occasionally fall down.
Always in the middle of the night too. So in the 3 closets I have done I built
a drawer unit in the middle with shelves and put rods on both sides. I did
each closet slightly different. This one I stained and used polyurethane. That
was way too much work so the next one I bought pre-finished plywood, that was
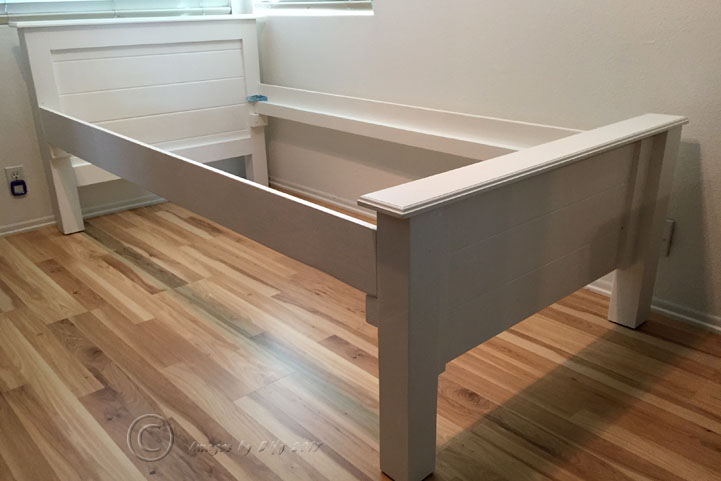
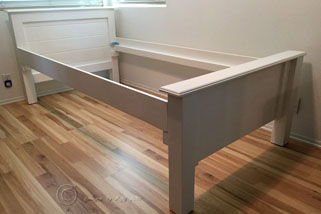
much better. Karen's two sisters were going to come and visit so Karen
wanted a new bed for one of our bedrooms. But you could not purchase a bed to
meet the specifications she wanted so I built one. It could not go above the window sill,
had to be little higher for storage underneath and most important of all, had to have
room for her sister to dangle her feet off the end of the bed. |
click photo to enlarge |
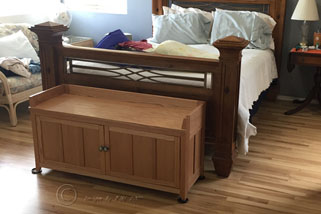
In our master bedroom Karen had some ugly plastic storage bins at the end of
the bed so I built a storage unit out of oak. It is all tongue and groove
joinery and pocket screws. This unit has 50 pieces to it and really took a
long time to build and was a lot of effort but it turned out nice. One of my
managers at Kaiser, John, who retired the same time I did, was taking wood
working classes and gave me the idea. I was able to find the local school
systems has adult education classes and one of them is bench carpentry. They
really don't have any formal class, you just pay your fees and you get
to use their equipment. But there are always people you can ask or ask the
instructor if you don't know how to do something. |
click photo to enlarge |
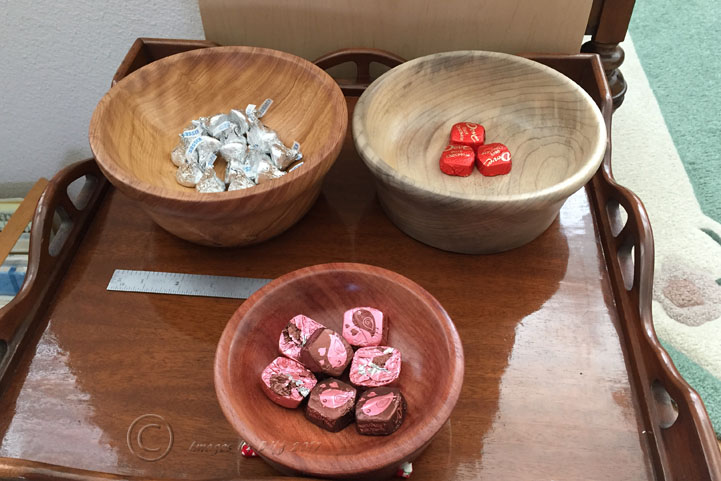
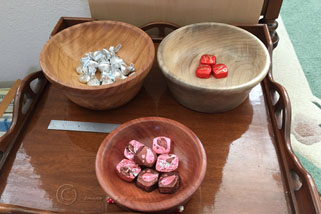
I had never used a lathe for woodworking before and they had lathes so I
bought some blocks of wood and made a few bowls. The upper left bowl is
Olivewood, the one next to it is Myrtlewood and the red one is redwood. It
was a lot of fun playing on the lathe and turning these bowls but OMG do you
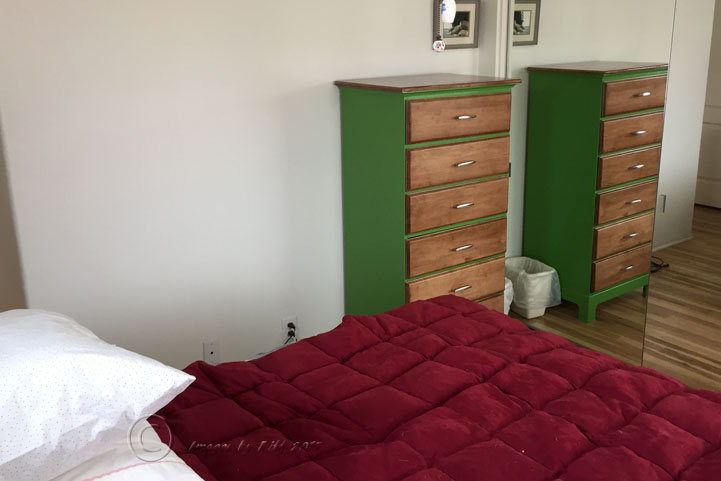
get covered in chips. In the lower middle photo is a chest of drawers I made
to replace a very large dresser that took up all the room in this bedroom
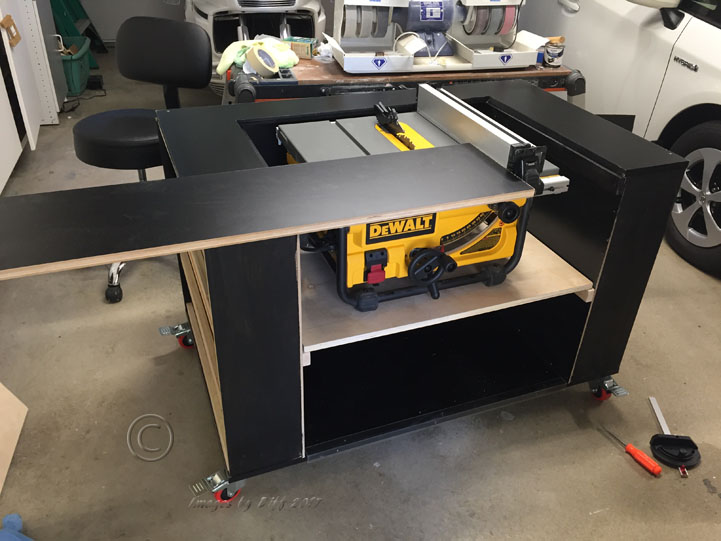
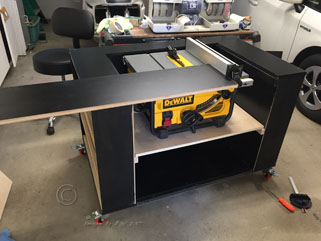
The lower right photo is a work bench I made for my new table saw. The drawer it
is on gets removed and placed on the bottom then the saw is stored there.
Then I have a top for the work bench. The sides of the workbench have
shelves were I store a lot of my battery operated tools. The work bench has
very large casters to make it easy to roll outside and it has a hole in the
back for a vacuum hose that attaches to the saw. It is also the right height
to use my portable table as an out feed for doing large pieces. AND I pretty
much designed this all by myself.
|
click photo to enlarge |
  |
| |
|
| |
|
|
|
|
|
|
|
|
|
|
|
|
|